Knitting I-Cords on DPNs
- vintagemegknits

- Jun 6, 2025
- 3 min read
Updated: Jun 11, 2025
A Little Bitty Knitty Lesson
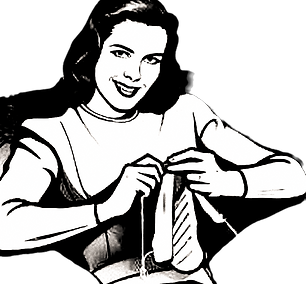
Behold, the simple way to whip up an I-cord (or rope, cable, string—whatever tickles your fancy).
These knitted I-cords have a "rope" vibe and can be used for all sorts of shenanigans, but they're usually the go-to for things like bonnet ribbons or singlet straps.
They're basically a little tube knit in the round but because they are so small you don't need a fistful of needles.
I use them in my Perfect Pin Up Pin Curl Scarf pattern, so I figured, why not spill the beans with some quick instructions?

To knit an I-cord, you'll need:
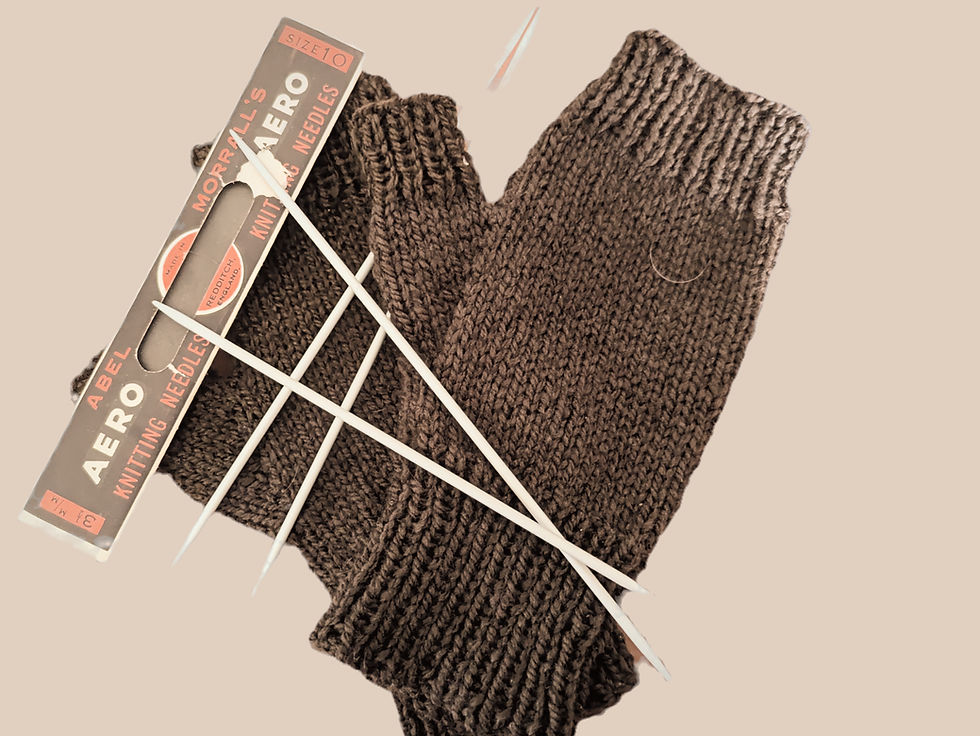
A pair of DPNs (just two, not the whole gang of four)
OR a circular needle that's just right for your yarn
Now, here's the kicker: you won't be flipping your knitting back and forth like a pancake. That's why DPNs or circular needles are your trusty sidekicks, letting you knit from both ends like a pro.
Step 1 - Cast On
Cast on the number of stitches your pattern specifies—typically between 3 and 5. Consider this the Goldilocks zone for stitches. If you cast on too many, you might end up with an i-cord that resembles a chunky scarf!
Keep in mind, you're essentially knitting in the round without actually knitting in a circle.
It's like a little magical loophole!
Be a little cautious though, as adding more stitches makes it harder to "close the gap".
Kind of like that time Aunt Joan wore that shirt that was a couple of sizes too small and you could see her bra (and everything else) between the gaping buttons.
Step 2 - Knit (or purl)
Now you can start knitting your I-cord.
For the first row just knit all the stitches as usual.
Knit stitches will give you a smooth cord, using purl stitches will give you one that's textured.
Step 3 - The Slide
Now the fun bit.
Don't turn your needles!
Instead, slide stitches on your needle along to the other end of the needle.
DPNs and cable needle technique is the same. If you use a cable needle you'll just have further to slide is all.
Now knit all your stitches again pulling the yarn across the back of the work, knit all the stitches. Everything is normal EXCEPT the yarn is coming from the last stitch in the row instead of the first when you begin knitting this row.
Step 4 and 5, and on and on…Repeat! Repeat! Repeat!
Keep knitting like a pro, sliding to the other end of the needle as instructed, until your i-cord is long enough to rival Rapunzel's hair...
Hint
If you can remember, try and keep your tension consistent and pull a bit at your i-cord every couple of rows. This will let the little bit of slack created when you bring your yarn across the back of your work settle in for a much neater appearance.
That's All Folks!
Congratulations, you're now an i-cord knitting wizard!
See? It's as easy as pie (and just as satisfying!).
If you enjoyed this little bitty knitty lesson, keep checking back, I’ll be making more!


Comments